ReDEUX: second-hand objects enjoying a second life

ReDEUX projects generally cost no money.

ReDEUX projects have caused me to knock on strange doors and ask for people's trash off the street.

ReDEUX projects make me happier than anything.

Objects always have the potential to be repurposed.

Friday
Jan112013

Freezer Paper Stenciled Tees <$10

Materials:

a tee (cotton or mostly cotton...my best transfer happened on a shirt with a low % of spandex, and I wish I had practiced on an old shirt my first time)

Reynolds freezer paper (sold at the grocery store, one $6 roll will last forever)

x-acto knife

iron

permanent fabric paint (<$2/bottle, sold everywhere)

foam brush

an image you want to stencil (can be drawn by you or printed on a piece of paper)

Tutorial here. If the link disappears, just google "freezer paper stenciling" and you will have your pick of tutorials. Some tutorials say to peel the stencil away when the paint is still wet. Some say dry. I have had better success with peeling after the paint is dry. Also, iron a piece of freezer paper to the inside of the shirt, or stuff a piece of cardboard under the stencil before you paint it so the paint won't seep through.

Here are a few of the shirts I have made:

For my aunt's birthday, the one that has been to Europe a zillion times. It's Brunelleschi’s dome in Florence.

Hedgehog for RE. Based on her beloved hedgehog Target wallet. I embroidered his heart and sewed on his button eye.

A joke shirt for Rat, my J-school grad sister who once texted me that she "loved all the tool at the bridal shop." English does have some funny words. This was one of the first shirts I did...before I learned to paint a second coat. I still like this look, but be aware that you can make the paint as opaque as you want it to look.

Father's Day shirt for my dad, who always led me to believe we grew up in Missou-ree, but changed his pronunciation since I left home to Missou-ruh. He's a switcher. One year he likes the Chiefs, the next year he likes the Rams. I grew up in Missou-ree.

Christmas gift I made for my neighbor, Pam, who uses this phrase A LOT. I used stickers for the letters (instead of the freezer paper)...just stuck them on with force. They worked beautifully.

Onesie for my friend Annie who was doing a Native American/Southwestern nursery for her baby girl.

Sunday
Dec302012

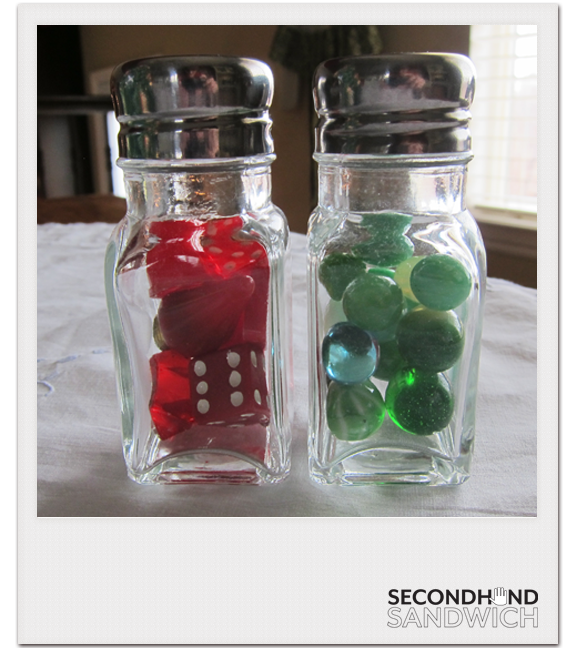
Christmas Salt Shakers $0

My mother-in-law gave me these shakers when she cleaned out her craft room. My sister Suz sent me an Etsy purchase called "Lot of 100 Vintage Christmas Smalls" that was basically a gallon-sized Ziploc bag full of Christmas trinkets. I decided to put green marbles in one shaker and red things in the other. They hung out together on my kitchen table all December. Cute.

I might do this for every holiday. Little robin eggs and feathers for Easter, red + white + blue things for July 4, black + orange things for Halloween, acorns and nuts for Thanksgiving...the possibilities are endless.

Tuesday
Dec042012

Footed Dishes from Mismatched China <$2

Martha Stewart shows you how to make your own footed dishes from flea market and mismatched dishes you already own here. Use them as soap dishes, food servers, jewelry/coin holders, catch-alls, etc.

Super easy, and besides the dishes all you need is E6000 craft glue. (Or a glue that says it works with ceramics.)

I glued them plate-side down on a towel at night and by morning they were cured!

I didn't pay more than $1 for any piece, and I am bonkers for that gold-rimmed plate.

Friday
Nov302012

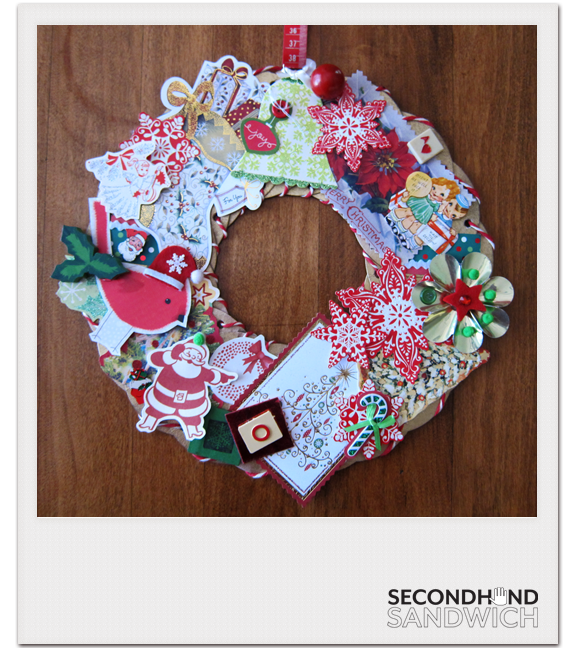
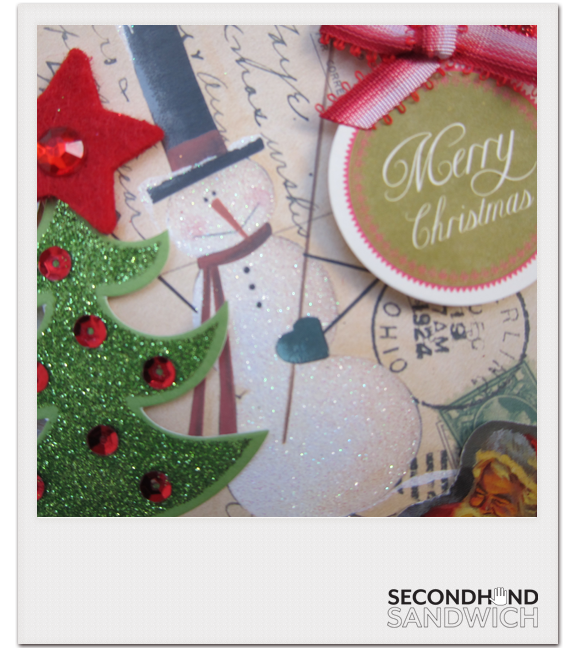
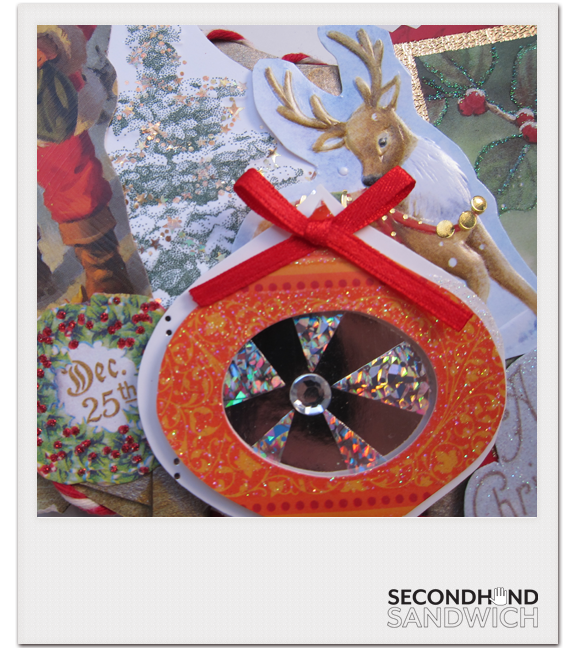
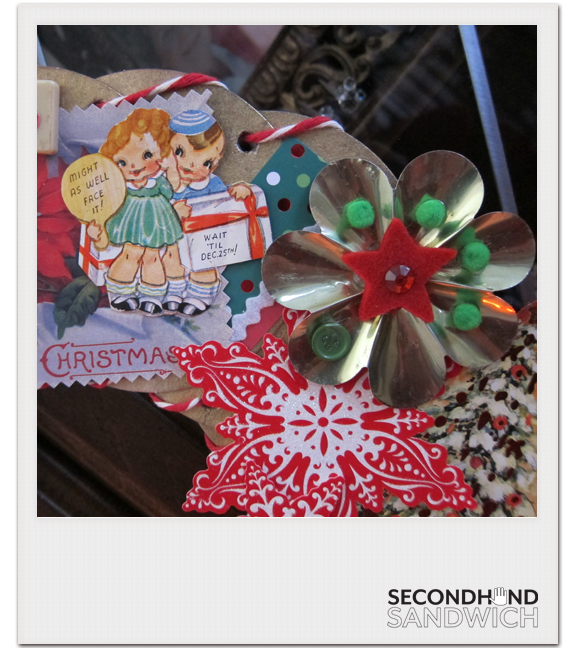
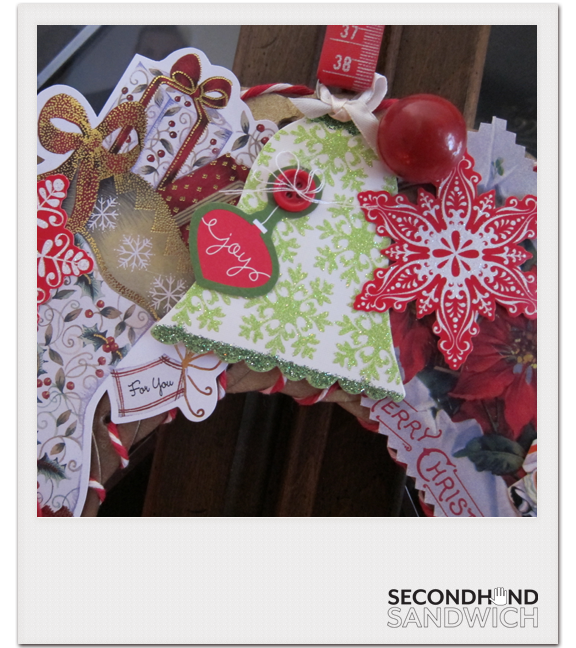
Coaster Wreath From Old Christmas Cards $0


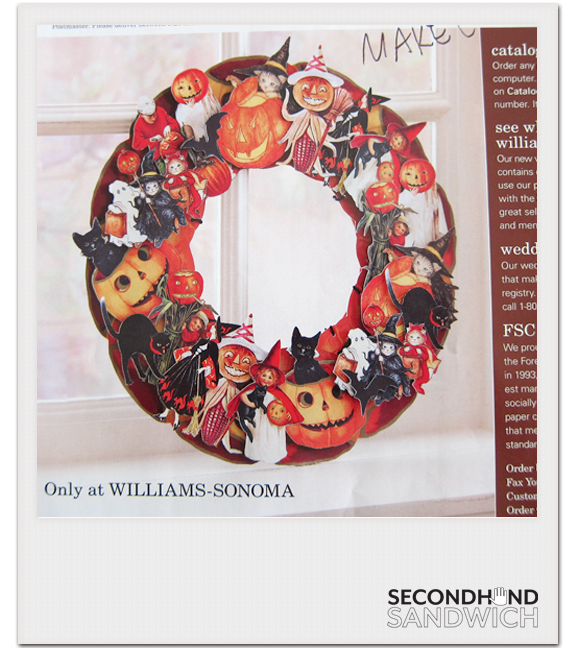
Remember my affinity for coasters? I still had a stash of square Texas Roadhouse ones. I was looking through my THINGS TO MAKE folder and found this ripped out page from a Williams-Sonoma catalog:

 I realized that I could make this in a Christmas motif with stuff I already had.


    Materials needed:

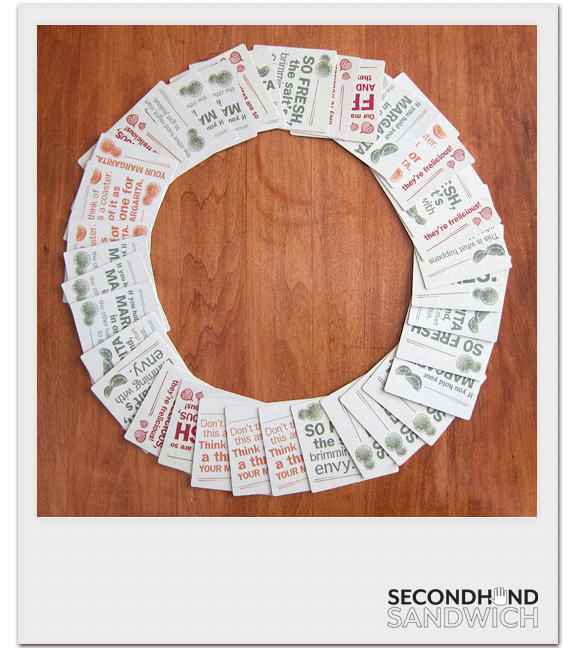
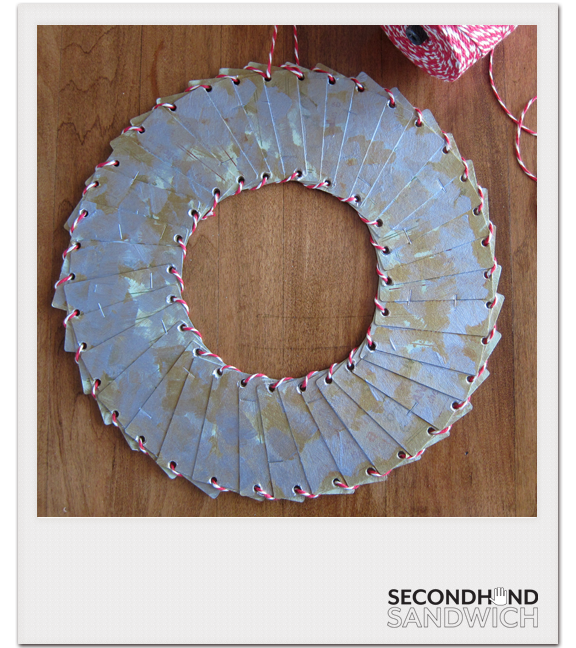
    Coasters, square or circular (I used 36)

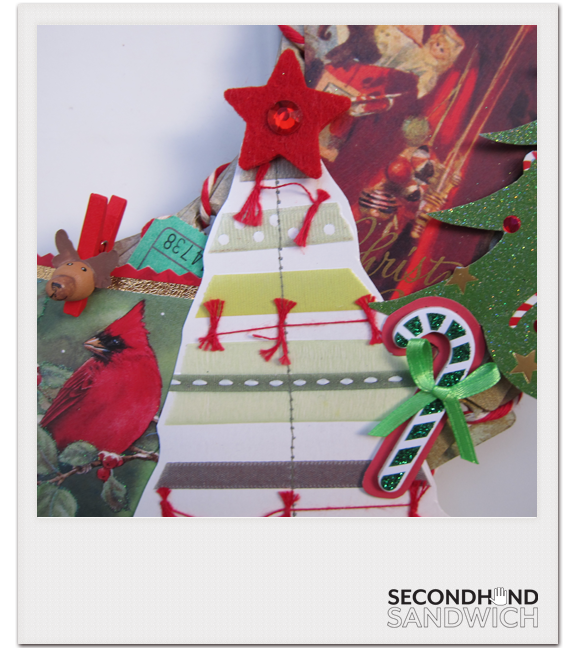
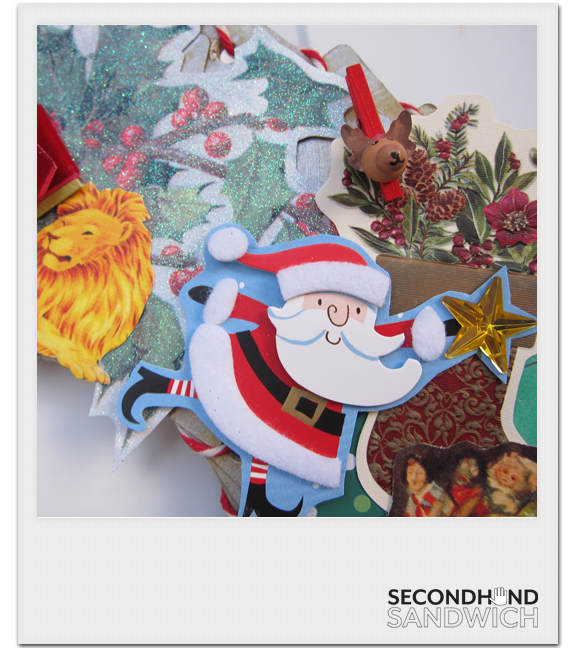
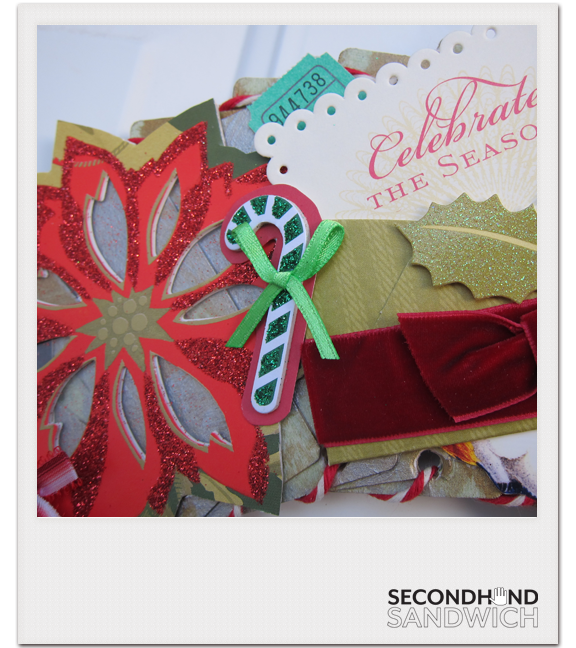
    Old Christmas cards, especially ones with 3-D objects or embossing or foiling

    Stapler, Scissors, Adhesive

    Acrylic Paint, Paintbrush AND/OR Spray Paint

    Cute Twine


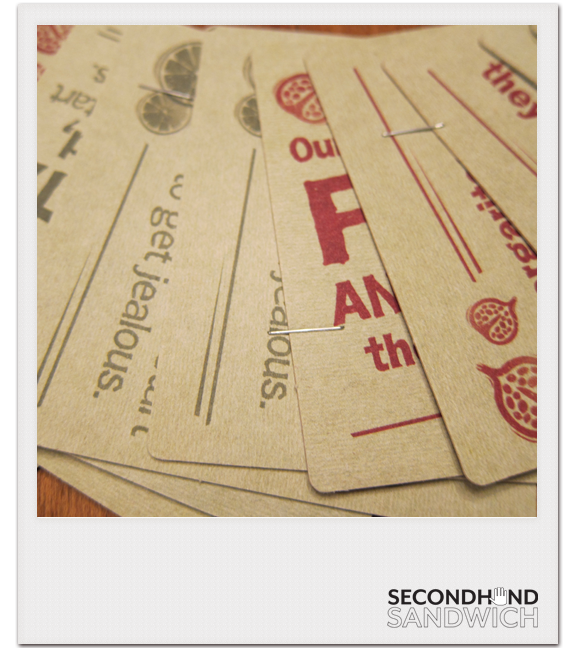
1. Cut shapes out of the cards. I went for anything with textured, 3D, embellished, embossed, or foiled areas.

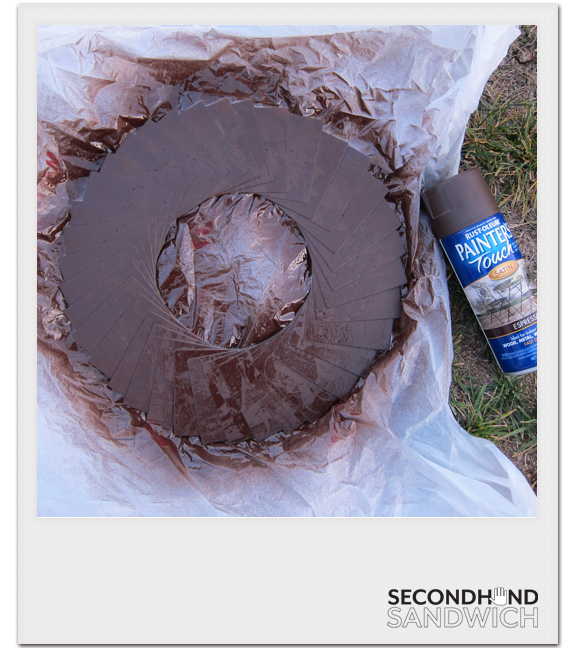
 2. Arrange the coasters in a loose circle to figure out the size of wreath you can make. Staple the coasters together any way you want.

3. Spray paint the back of the wreath (in case you hang it in a window or something).

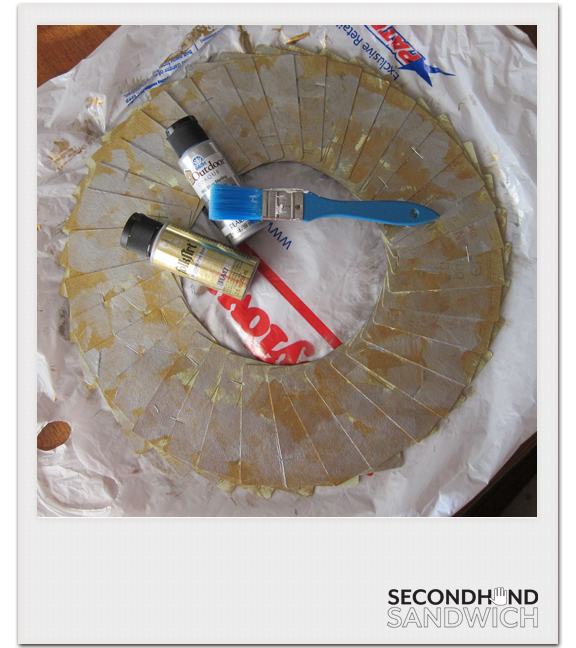
4. Paint the front of the wreath if you need to. Only the edges will end up showing, but I had the paint and used it.

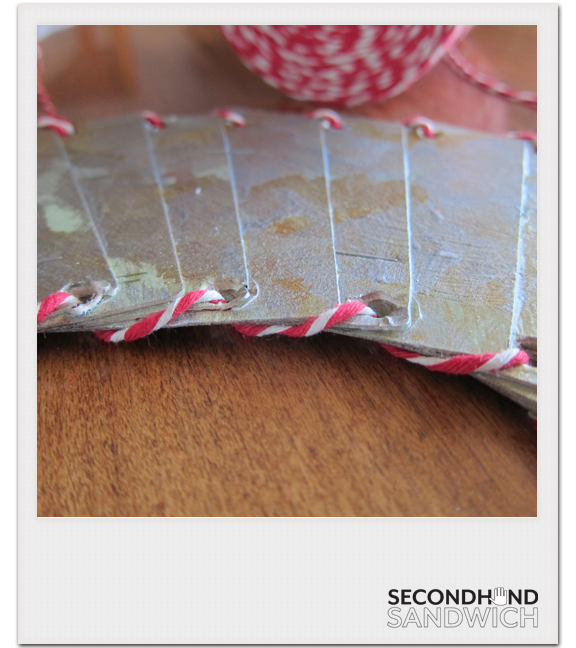
5. Punch holes around the wreath and lace with twine. (Like a giant lacing card!)

6. Adhere the pieces of Christmas cards in layers. I used Terrifically Tacky Tape for the flat layer and some foamy raised tape for the pieces that stick out.


I think Anthropologie should hire me to make these for them and that they should retail for $268. Except that this took me two days to make. If a card you sent me is on the wreath: thank you!  

Wednesday
Nov282012

Bags from Old Sewing Patterns $0

My aunt sent my daughter a little Christmas felt craft kit and it came in this bag. Genius. Zigzagged genius. I cannot proclaim how excited I get when I find other people that don't like to waste stuff.

This would work with any paper. The bag is lighter than text weight, but thicker than the tissue paper patterns these days are printed on. (duh) I felt I should clarify in case someone tries to make a bag with tissue paper.