ReDEUX: second-hand objects enjoying a second life

ReDEUX projects generally cost no money.

ReDEUX projects have caused me to knock on strange doors and ask for people's trash off the street.

ReDEUX projects make me happier than anything.

Objects always have the potential to be repurposed.

Sunday
Sep162012

Spaghetti Sauce a.k.a. "Bottled Sunshine" <$10


I scored two bushels of tomatoes from a local farmer for free, and countless neighbors offer up their surplus tomatoes via facebook. I also grow my own tomatoes, but if you don't have your own you can buy boxes of tomato "seconds" (tomatoes that are split/not visually perfect) for half the price of pretty tomatoes. Ugly tomatoes make great sauce.

How to make roughly 17 pints of delicious homemade spaghetti sauce:

  • 1 bushel (around 200) tomatoes, any variety (Romas are best, but any tomato will do)
  • 1 large white onion, finely chopped
  • 1 large yellow onion, finely chopped
  • 1-2 heads garlic, minced
  • 1-2 T. dried basil
  • dried oregano
  • black pepper
  • 2 swirls around the pot of balsamic vinegar
  • 1/4-1/2 c. sugar (to taste...it eliminates the "earthy" flavor)
  • kosher salt (add to taste after sauce has reduced completely)

Blanch the tomatoes and run them through a food mill like this one. Or you can pull off the skins and cores and throw the remaining tomato in your Blendtec. Put the tomato liquid/pulp in a huge pot and bring to a boil. Reduce heat and add everything except the sugar and salt. Simmer lightly with lid off until liquid has reduced by half (this is why Romas are best-they are meaty and have less liquid, so you're done faster). Stir now and then to keep anything from burning to the bottom of the pot. (This will take several hours.) Once the consistency looks like spaghetti sauce, turn off the heat and add your salt and sugar. Season everything to taste. Make it how you like it!

Pressure can in pint jars for 15 minutes at 13 lb/pressure for Utah's elevation. You can find all canning times online here.

I have been doing this for a few years, so I don't have to buy jars anymore. A dozen pint jars runs about $8. Once you own the jars all you have to buy is new lids, which are really cheap. To make sauce I only ever need to buy the onions and lids...everything else is a pantry staple.

I use this sauce for pasta and as a marinara dipping sauce for mozzarella sticks. I simmer it a bit to thicken it for pizza. It is so good that sometimes I just eat it by the spoonful with my eyes closed because I can taste summer and sunshine in it. Several of my friends refer to this sauce as "Bottled Sunshine."

*Canning is more fun with a friend. My friend Michelle taught me how to can and this is the recipe we developed together from the McBride's base recipe. We have spent many hours over the years visiting and laughing and being splattered to death while we make our sauce. Spaghetti sauce is a memory I'll always treasure with her. Spaghetti sauce is also a guarantee that I will deep-clean my kitchen once a year.

Sunday
Aug192012

Walnut Manger Ornaments $3

I helped RE make these to give all of her friends at Christmastime. We got walnuts from Charlotte Carson's tree, but you can buy loose walnuts in the produce section for cheap once autumn hits. Crack them carefully, trying to get two really solid halves. Clean them out. Paint the shells gold (spray or acrylic). We bought a 12-pack of Mardi Gras King Cake Baby Dolls for $2.99 at Partyland to use for the baby Jesus. Snip the arms and legs off with wire cutters (the plastic babies are too big to fit in a walnut half). Wrap the baby in scraps of fabric (I had a little french ticking left) and glue to inside of walnut shell. Hot glue scraps of trim around the perimeter of the shell. Her little gift tags said GOOD THINGS COME IN SMALL PACKAGES.

My siblings and I always hid a little walnut ornament in the Christmas tree when we were kids. It was a sleeping mouse (whose face was made from an acorn) in a walnut bed with a patchwork quilt tucking him in. So cute. I loved hiding the walnut.

Monday
Aug132012

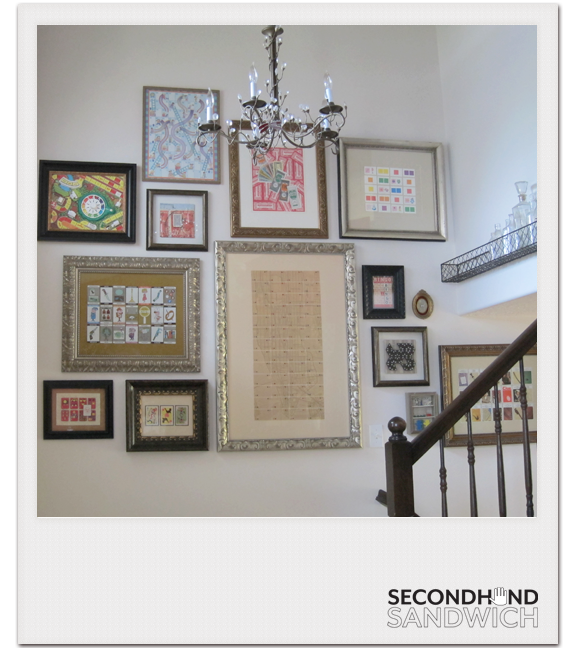
Wall of Game Paraphernalia <$175

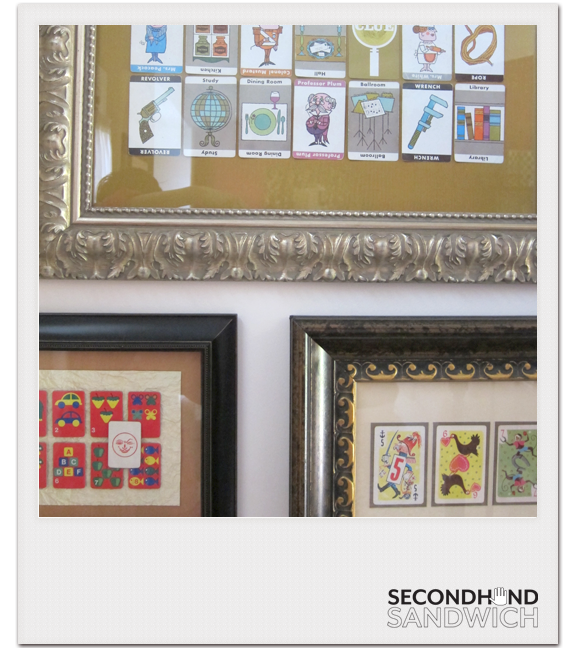
My entryway wall. Basically my childhood on a wall. My happy Durko-childhood with my siblings in our mid-Missouri basement with thick blue carpet perfect for playing games on. I don't know which we loved more: games or puzzles.

This might seem pricey for a ReDEUX, but the framing will get you every time. The games were all either free (my sweet MIL) or $1 at D.I.. I repurposed several frames I already owned, I used book cloth and art paper and things I already owned for the backing, but the giant Manhattan frame was a pretty penny. I still have plenty of room before I hit the vaulted ceiling.

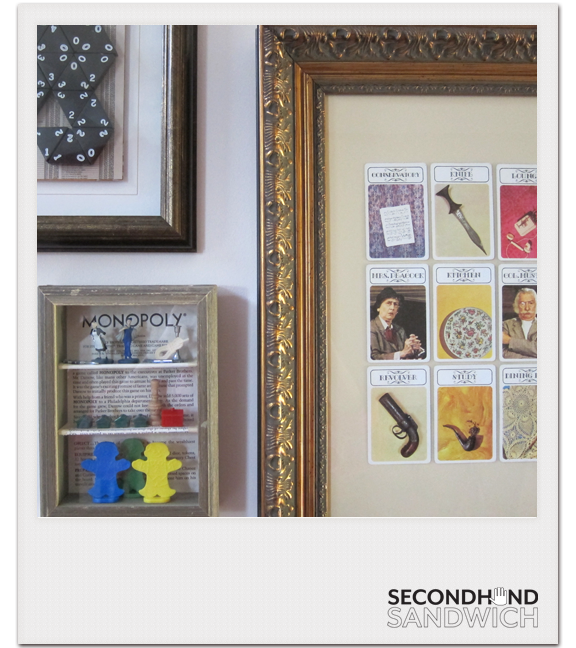
This is the set of Clue cards that I played with as a kid. Miss Scarlett was fierce and Mrs. Peacock looked like a female Sherlock Holmes. The rusty knife still kind of gives me the chills when I look at it. I always thought I was good at Clue.

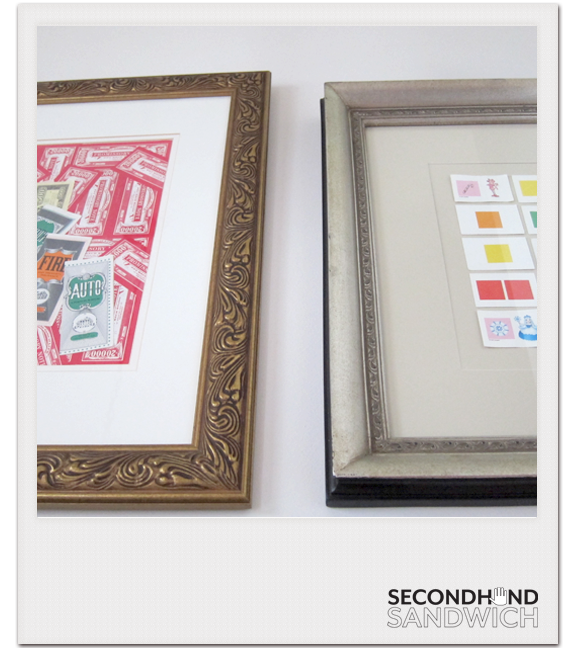
Then we have Triominoes (triangle dominoes) and assorted game pieces: Candy Land men, Monopoly hotel/houses and a wooden Monopoloy piece my MIL gave me. I don't ever remember Monopoly having wooden pieces, but several people have told me they remember them. The top shelf is all the Clue pieces. The figurines come with the current version and are totally lame compared to the metal replicas we played with.

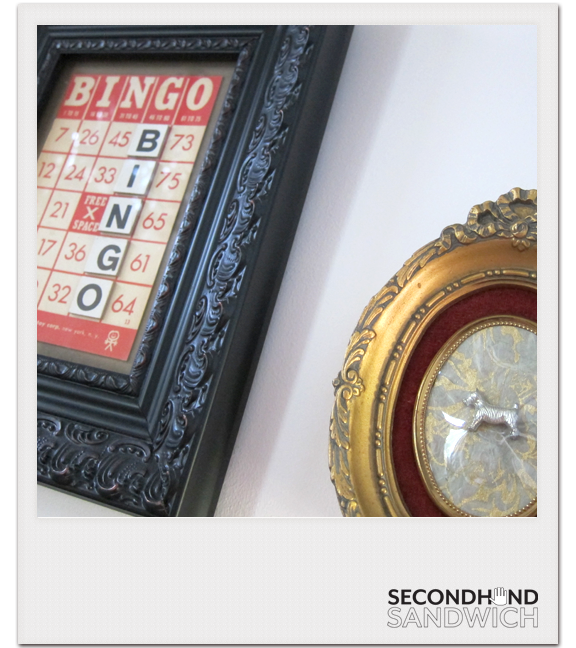
My favorite Monopoly piece was a tie between the iron and the thimble (foreshadowing domesticity, I'm sure). Here I framed the dog. We are dog lovers, after all.  

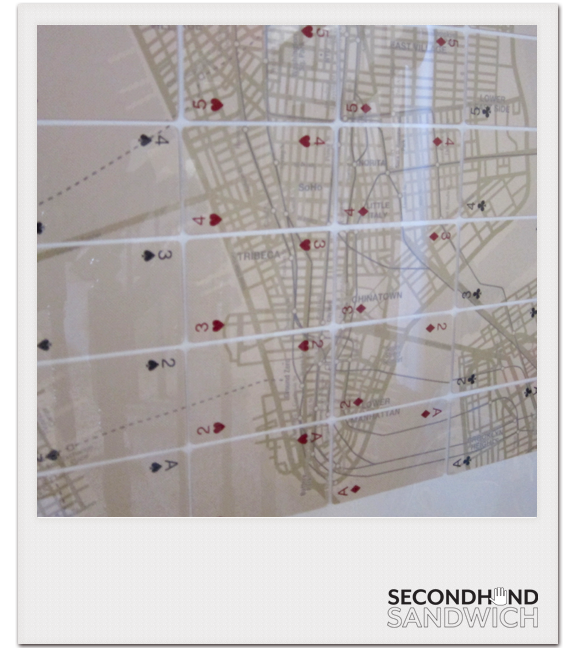
My aunt sent me a set of playing cards that form a map of Manhattan when arranged correctly. I discovered it by accident. The cards came in a plain brown box with no instructions, so you can imagine my delight when this was realized. This piece starts a lot of conversations.

Vintage Clue, Crazy 8's (my first memories of Crazy 8's with Suz are before I was even in school), and Kids' Rummikub. I love the "moon man" on that one.

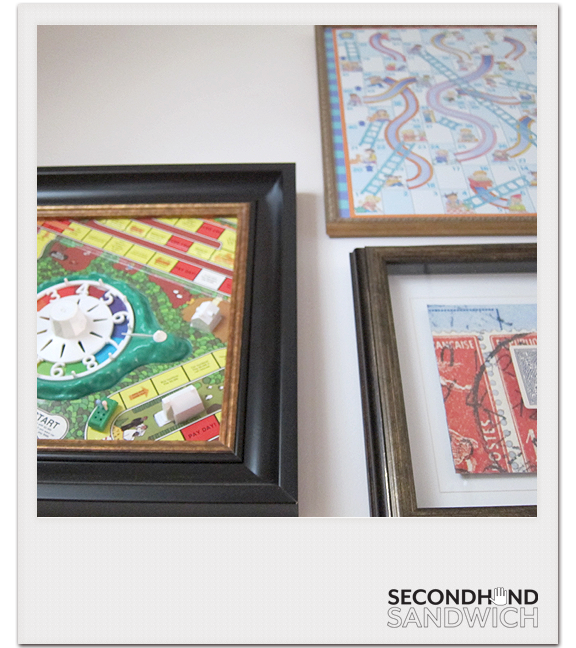
We loved Candy Land and LIFE. I would give my last wisdom tooth and some of Ari's college fund to anyone who could locate me a 1962 vintage Candy Land board. The one with the crooked little peanut brittle house and the molasses swamp. The new boards are ridiculous and the older board is just okay. I want the board from when I was a kid. I think I learned my colors from Candy Land. It's part of my DNA.

Chutes & Ladders: possibly the most annoying game in history. I liked it as a kid, although it seemed like I never got the #28 ladder as much as I deserved. As a mother I played this game with RE roughly 380 times before I figured out I could make the spinner land on whatever number she needed to win. This game never ends when truly left to chance.

LIFE was the game I think we played the most. Suz was always the banker and I always landed on the space that said "Your goat ate the neighbor's laundry. Pay up." To this day I hate being the banker because Suz always did it and I never appreciated her labor of love until now. Banking must have been a pain for her, especially because I always got the occupation that earned $8,000 on payday, which was a nuisance to deal out. Not like being the lawyer that got a fast orange $20K. We never once used a Promissory Note, although I appreciate their graphic beauty as an adult. The sound of the clickety-clackety LIFE spinner is a sound I can't hear without smiling. I put the green car with a boy and girl on the board I framed because Greg and I leased a green Honda Civic when we were first married and beginning our LIFE.

Other games we played that I have not yet framed: Aggravation, Hi-Ho Cherry-o, Hungry Hungry Hippos (our 1970s game wasn't a piece of junk like the game made today...our hippos endured five children slamming glass marbles in their mouths and nothing ever broke), Go Fish, Hangman, Sorry, and this huge box Suz had called 222 Games (my favorite game was called Lady Luck). We also had a game called Enchanted Forest that I bought from ebay. It's basically the neatest game ever and the board says "Made in West Germany."

Suz sometimes let me play with her Spirograph.  

I never understood Pit but often rang the orange bell.

The two games we ALWAYS played at our cousins' house were Battleship and Operation. I've been trying to find an Operation at D.I. because I think all the little white pieces would look so neat mounted on black in a tiny frame, but everyone that donates that game to D.I. does not include the pieces. There are currently 3 useless Operation games at D.I.

Monday
Aug132012

Snack Dispenser from Chicken Feeder $3

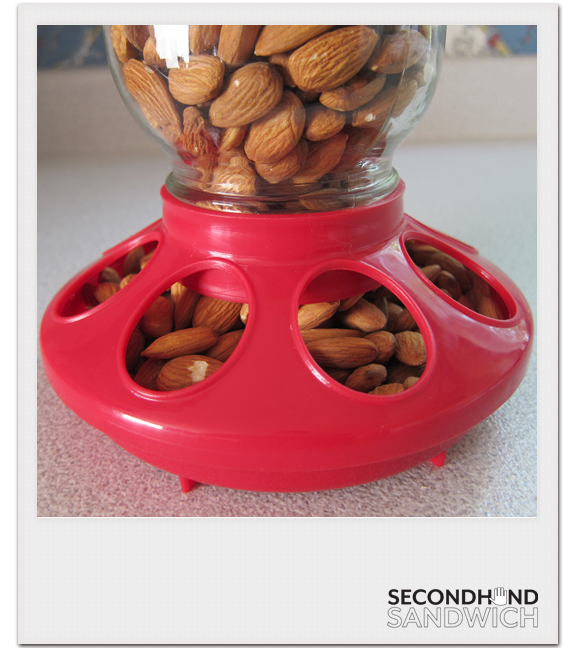
My friend Becca, who recently left her appendix at the hospital, had this on her kitchen counter when I went to visit her. I think it's the most ingenious thing I've ever seen. It is a chicken feeder, but she put her almonds in the mason jar for snacking throughout the day. (Mine would be loaded with Ghiradelli 60% chips.)

I went to IFA Country Store and bought the feeder for $3. I have mason jars coming out of my ears. You screw the feeder on to the mouth of the jar and flip it upside-down. IFA sells the feeders in aluminum (cute, but very sharp and hard to take apart) and assorted colors in plastic. I picked plastic for easy cleaning, plus sliced fingers always make for a sad snack. Then again, sliced fingers would cause me to snack less, and since I snack on chocolate chips...

I made this jar for my SIL Teeno, who is the most radiant of all my SILs and has a laugh that births fairies. This Roald Dahl quote reminds me of her, "If you have good thoughts they will shine out of your face like sunbeams and you will always look lovely." Anyone that knows Teeno knows what I'm talking about.

Other things to put in jar: trail mix, dried fruit, granola, dry cereal. The sky is the limit.

Happy snacking!

p.s. Trivia from Becca: your appendix is roughly the size of your index finger and completely useless. But birds use their appendixes. So all is not lost.

Friday
Aug102012

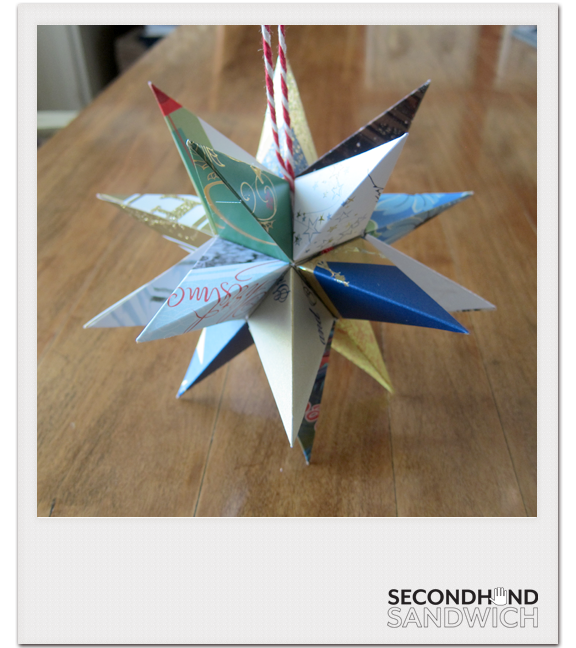
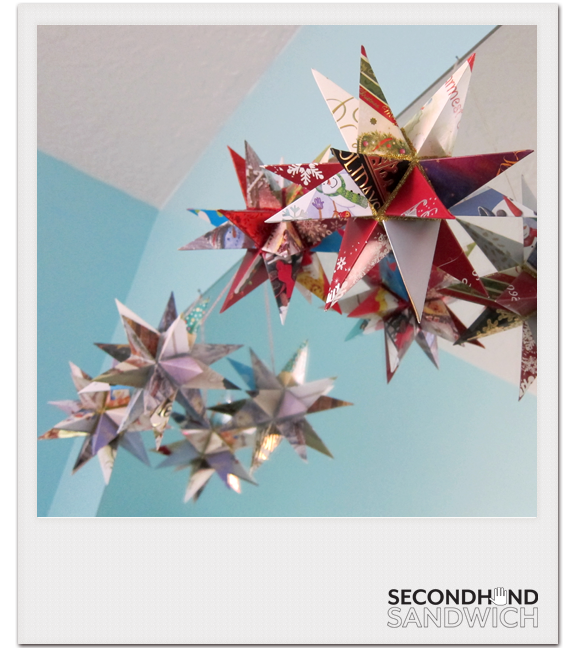
20-Point Stars from Old Christmas Cards $0

Supplies needed:

At least 10 old Christmas cards, thicker than cardstock

One piece of letter-sized cardstock

Scrap of string

Glitter puff paint

Small paintbrush

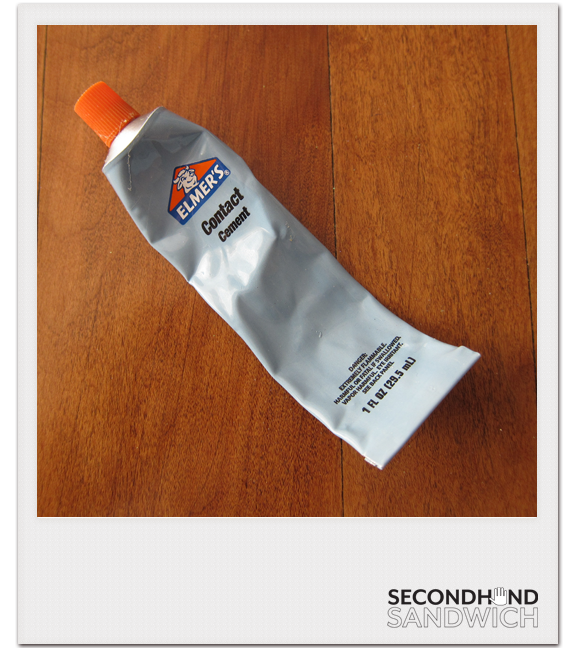
Elmer's Contact Cement

Scoring Blade/Bone Folder/Back of Your Scissor Blade + Ruler

Scissors

Hot Glue Gun

(These are all things I had on hand. Now that I've made ten stars I had to buy new glitter paint. It was $3.)

I got this idea from jennyharada.com and she has a tutorial on her website here.


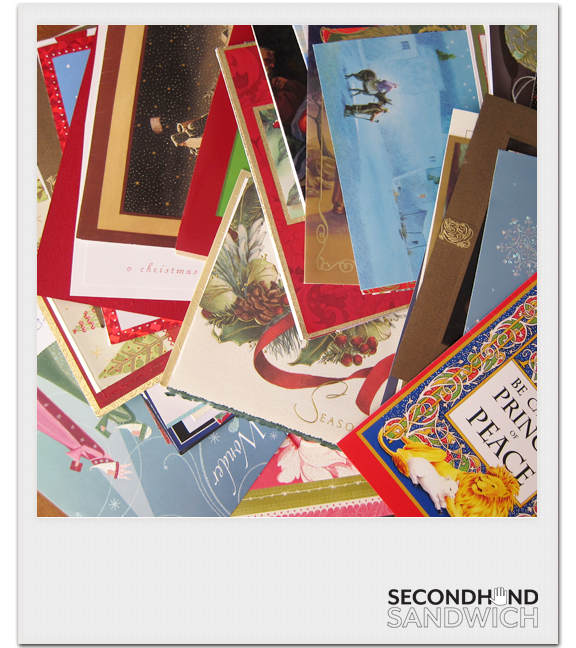
Gather your old Christmas cards. You can't keep them forever. (I find real cards are becoming scarce since most people send photo cards, so I ask doctors' offices and our mayor for all of their old cards. My sister Suzette even had her mother-in-law send me a huge envelope of them from Florida. It was one of the more exciting days of my life when I opened that envelope.)

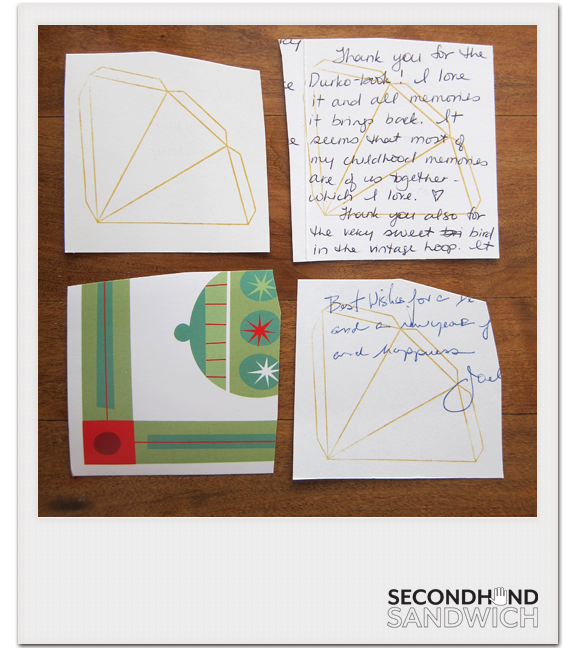
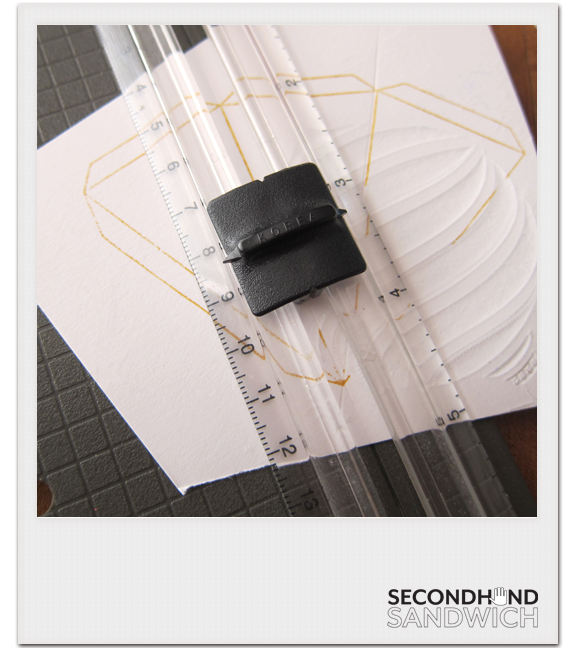
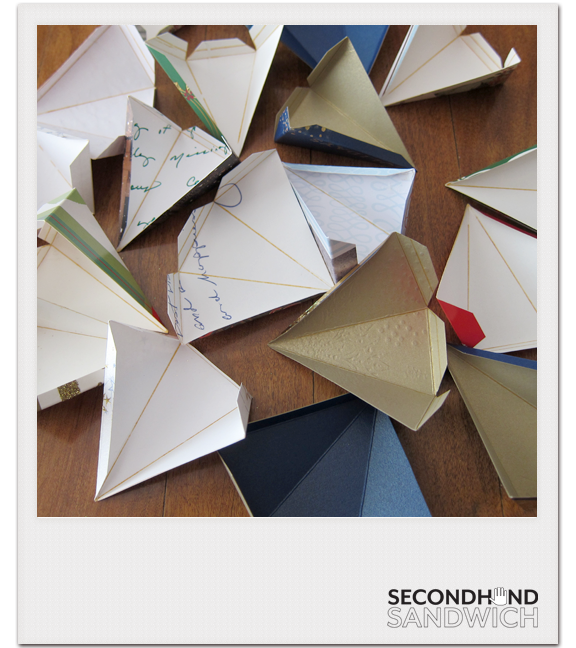
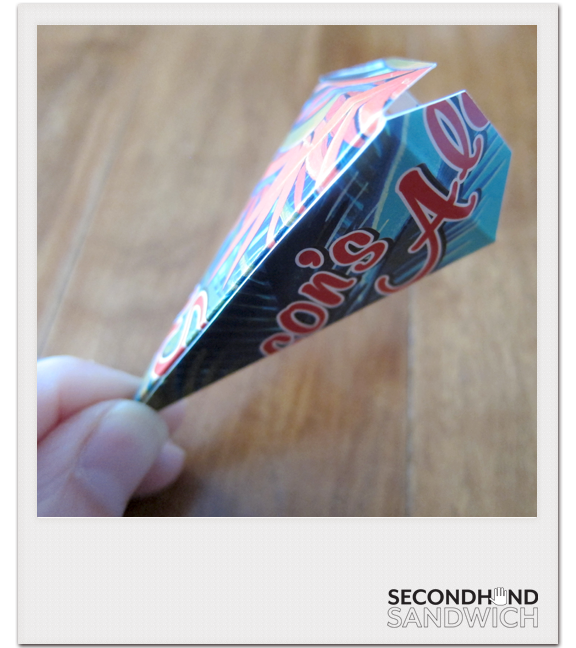
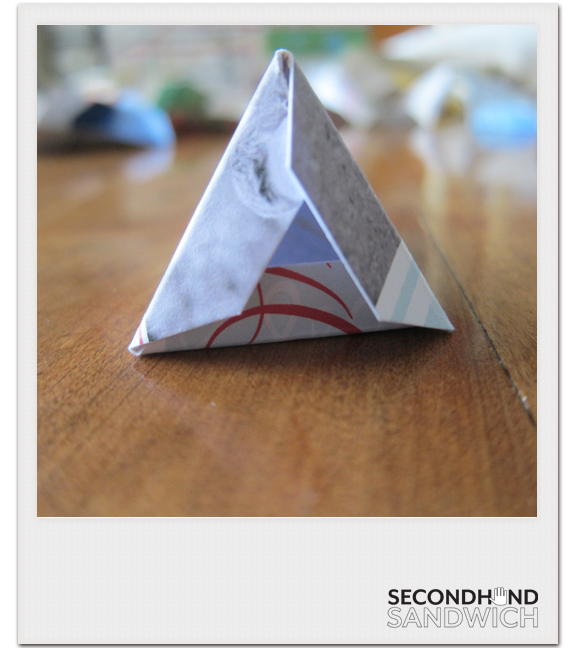
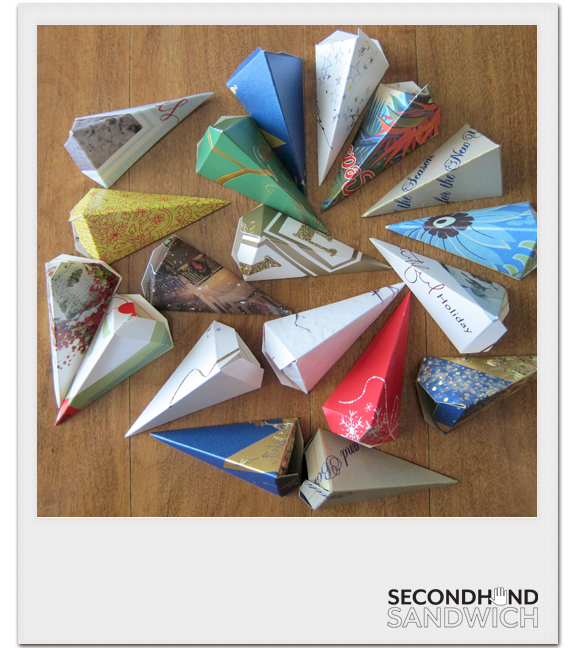
Trace the "starpoint" template (available on her website) on the back of your Christmas cards. If the card has something really unique (neat image, embossing, glittered detail, etc) I center the template over it. You want your star to be made from the best parts of every card. Trace 20 starpoints. Score them and cut them out. They will fold into little mini pyramids.

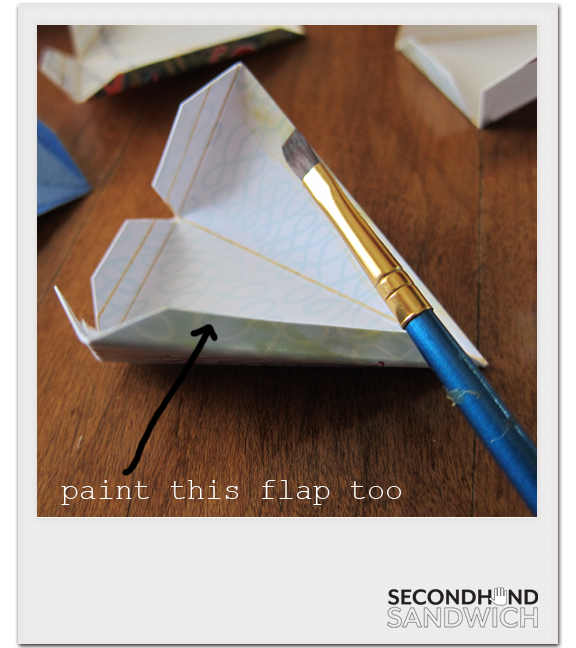
This is important: I have tried every glue under the sun and the ONLY glue that works for me is Elmer's Contact Cement. I found mine at Office Depot. (If you try this and use a different glue, please leave a comment saying what it is!) It works like rubber cement. Paint the flap and paint the inside of the starpoint where the flap will stick. Let both sides dry. Press together. (It is permanent from the second you touch the two sides together, so make sure you are aligned before you press.)

Now you are ready to make the 20-sided inner ball that the pyramids will glue to. I don't know the techincal term for a 20-sided object, but I'm sure all the guys that played Dungeons & Dragons do. Ask one of them.

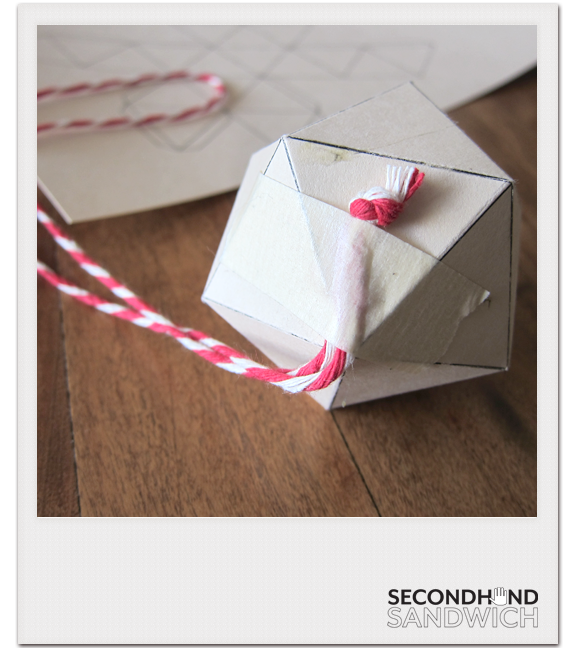
Print the "starbody" template from jennyharada's website on cardstock, score it, cut it out. Using the contact cement glue a few flaps at a time until your ball is formed. I usually do the center band and finish with the top. You will not see this ball at all, so don't worry if you mangle it or it if looks ugly. If you have to tape the last flap that's okay.

Take your scrap of string, tie the ends in a knot, and tape it to the ball above the knot. (I always place my knot in the middle of a triangle so that it will be hidden inside a pyramid. You just want the end of the string to be at a vertex so it can hang correctly.)

Also, the contact cement is lethal and I have to throw away my paintbrush when I'm all done with a star. So use cheap brushes. Don't be like me and use your Windsor-Newton brush that you got in college and babied for ten years. You'll be sad when you have to throw it away.

Using hot glue, glue one pyramid at a time to the center ball. I squeeze a triangle of hot glue on the starbody and press the pyramid onto it. Make sure you keep your string outstretched and don't accidentally cover it up!

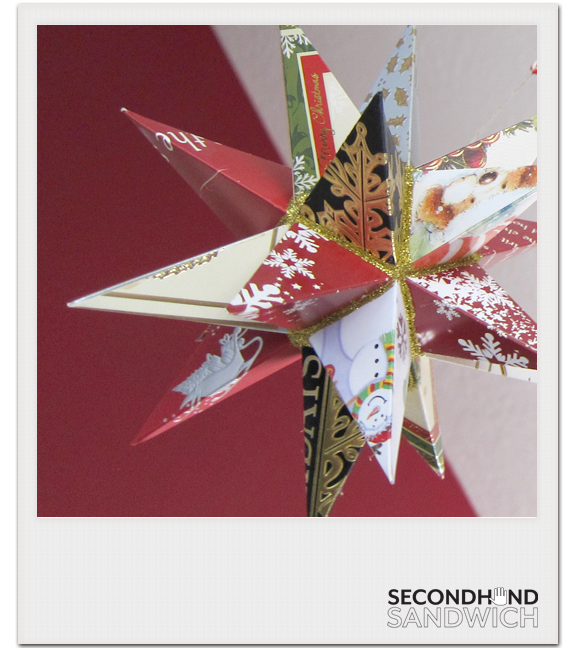
After you have glued on all 20 pyramids "caulk" the seams with glittery puff paint and let dry. The puff paint hides all manner of sins and really finishes the star. I use Elmers' 3D Glitter Paint, available for $6 at Walmart and other office supply stores in a 5-pack of colors. Other "glitter glues" dry flat, not puffy, so they don't act like caulk and hide everything.

Ta-da! I wrap my stars in tissue paper and put them in their own box for storage.